How to Estimate Home Projects Accurately
Good estimates start before you open a calculator. They begin with measurements that reflect the real project, a sensible understanding of waste, and a clear idea of what the output actually means. This guide explains how to measure common home projects, where estimates usually drift off course, and how to use calculators in a way that supports planning instead of replacing judgment.
How a practical estimate comes together
The calculator sits in the middle of the process, not at the beginning and not at the end.
Want to see the assumptions behind our tools? Visit Calculation Assumptions. Want to understand the formulas and QA approach? See Methodology. Want to review source references and reviewed calculators? Visit Data Sources and Review Board.
Ready to plan the work itself? Use our Project Planning Checklists.
Last updated:
What this guide covers
This page is a practical reference for estimating small to mid-sized home projects. It focuses on the measurements and planning choices that most often affect the result: length, width, height, depth, thickness, spacing, waste, and purchase rounding.
The examples below use real project situations such as a concrete footpath, a fence run, and deck materials. Each section connects the physical project to the calculator that helps you estimate it.
If you are dealing with structural design, permit work, engineering requirements, or safety-critical installations, treat calculator outputs as planning estimates and confirm final requirements with qualified professionals.
Why measurement matters
One of the most common estimating mistakes is measuring only the visible surface and forgetting the dimension that changes the quantity. A slab needs length and width, but it also needs thickness. A fence needs total run length, but it also depends on post spacing, height, corners, and the number of rails or wire lines.
A small error in width or depth can change the final quantity much more than people expect. That is why good measurements come first and calculators come second.
| Project Type | Main Inputs | What People Miss | Best Tool |
|---|---|---|---|
| Concrete path or slab | Length, width, thickness | Thickness or uneven base | Concrete Slab Calculator |
| Fence | Total run, spacing, height | Corner posts, gates, slope | Fence Cost Calculator |
| Deck | Length, width, board layout | Stock lengths and cut waste | Deck Calculator |
| Gravel area | Length, width, depth | Compaction and settling | Gravel Calculator |
| Paint job | Wall area, coats, openings | Coverage loss and second coat | Paint Calculator |
How small measuring errors affect a 10 m × 1.2 m concrete path estimate
Small changes in width or thickness can shift the estimate more than many people expect, especially when the path is long.
Area and volume are not the same thing
Concrete project example
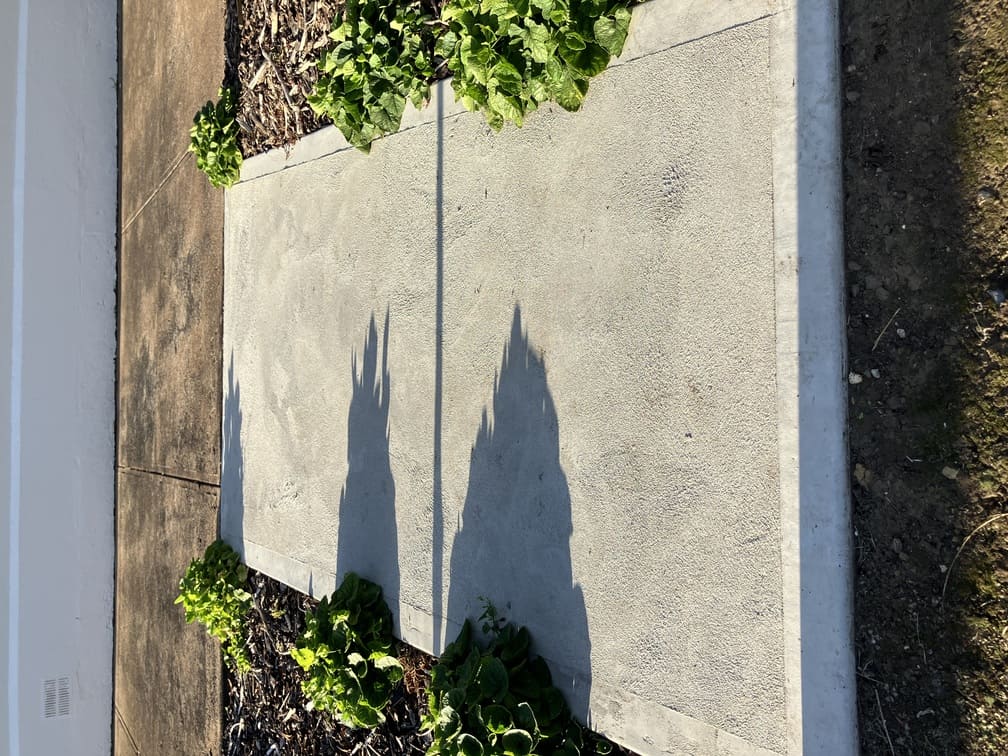
A concrete footpath is a good example of why estimates need more than a quick visual guess. The finished surface can look simple, yet the quantity still depends on total length, average width, slab thickness, sub-base consistency, and how level the site is before the pour.
Concrete path input diagram
Start by measuring the overall run. Then check the width in more than one place. Paths are not always consistent from end to end, especially where they curve slightly or taper near garden beds, steps, or entrances.
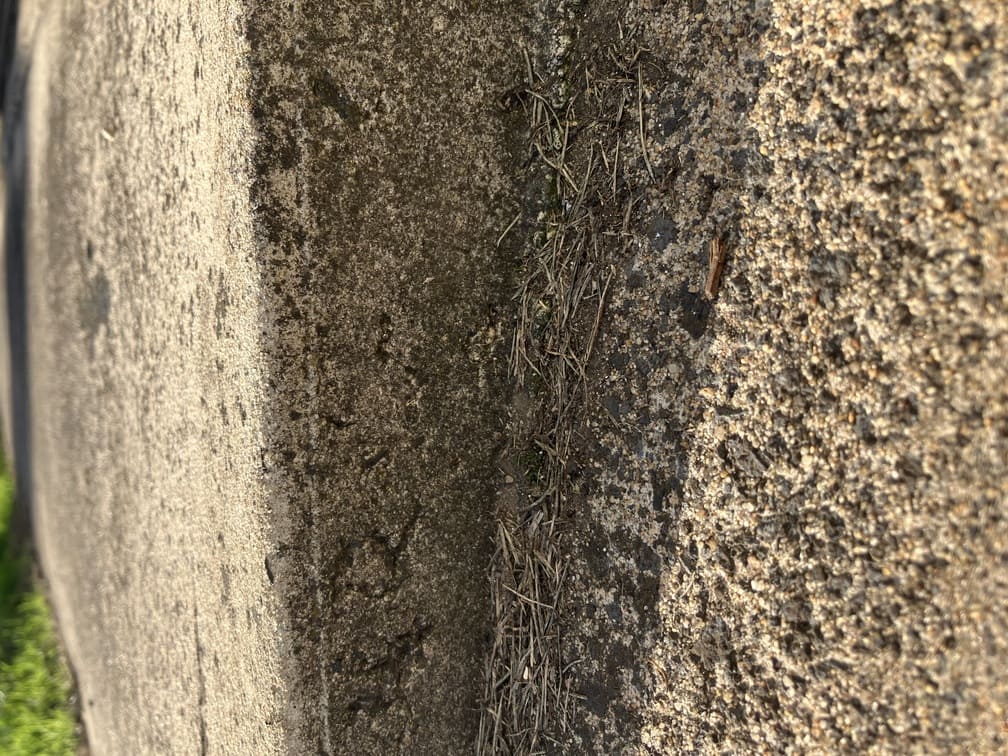
After that, confirm slab thickness. This is the step many people skip. Two projects with the same surface area can require very different concrete volumes if the thickness changes. For bag mixes, thickness often decides whether a job still feels manageable or becomes larger than expected.
Concrete volume for a 10 m × 1.2 m path at different thicknesses
Example based on a path measuring 10 m long by 1.2 m wide. The footprint stays the same, but the required concrete increases directly with slab thickness.
Site conditions can change the final quantity as well. If the base is uneven, low spots may need more material than a simple rectangle suggests. That does not mean you should guess wildly. It means the estimate should reflect the condition of the ground rather than the ideal shape shown on paper.
| Factor | Why It Matters | Typical Effect |
|---|---|---|
| Thickness | Changes total volume directly | Higher thickness means much more material |
| Uneven base | Fills low spots and variation | Can increase quantity beyond the neat shape |
| Waste allowance | Covers spillage and small variations | Usually adds a modest percentage |
| Reinforcement | Does not change volume, but changes planning | Separate material calculation |
| Pour method | Handling and access affect practical ordering | May justify some extra allowance |
For deeper detail on default waste allowances and planning assumptions, see Calculation Assumptions and Review Board.
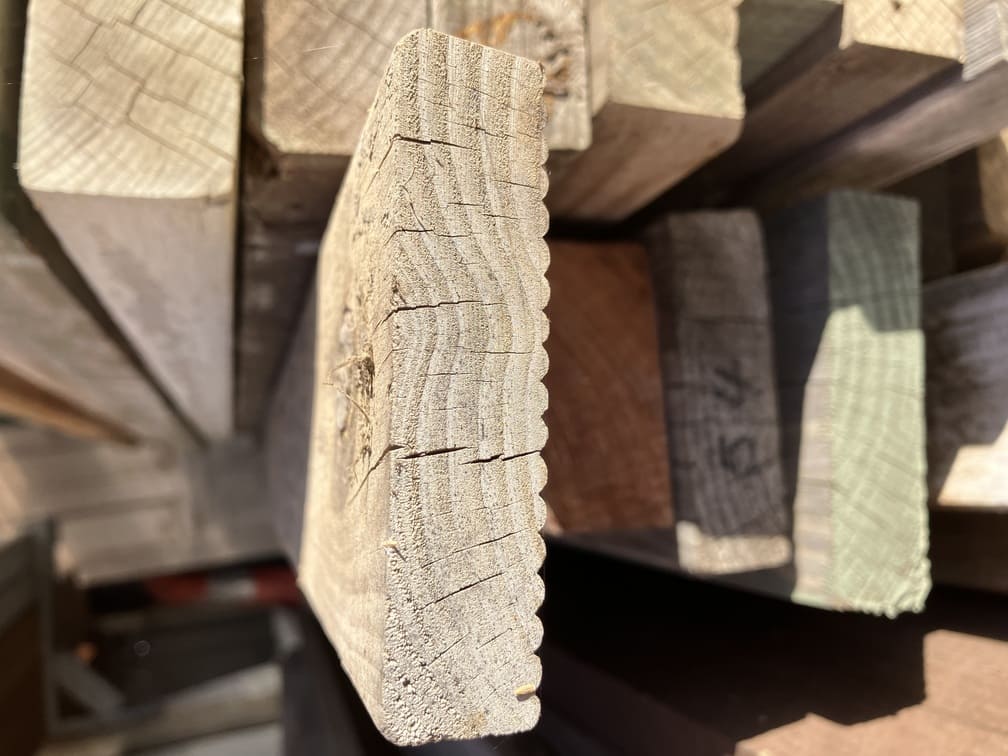
Decking and lumber
Deck and lumber estimates are different from slab-style projects because the result is usually a count, a board-foot total, or a purchase plan based on stock lengths. The raw number from a calculator is useful, but it is rarely the final shopping list by itself.
Board spacing, joist layout, standard timber lengths, and cut waste all affect how much material is actually needed. Even when the deck area is easy to measure, the purchase quantity can still shift once you account for layout and cuts.
| Factor | Why It Changes the Estimate |
|---|---|
| Board direction | Affects board count and waste pattern |
| Board width | Changes how much area each row covers |
| Standard stock lengths | Affects how many boards need to be purchased |
| Cut waste | Offcuts may not be reusable elsewhere in the layout |
| Stairs or picture framing | Adds more complexity and more material |
Basic deck layout
This is also where nominal and actual sizes matter. A board described one way in store listings may measure differently in practice, which affects both quantity planning and board-foot calculations. It is better to think of the calculator as a planning tool that gets you close, then adjust for the lengths and stock available from your supplier.
Fence project example
Fence estimates are often reduced to total length, but that leaves out much of the real material logic. A fence line depends on post spacing, height, end conditions, corners, gates, and the style of fence being built. A straight run is easier to estimate than a fence with slope changes or several transitions.
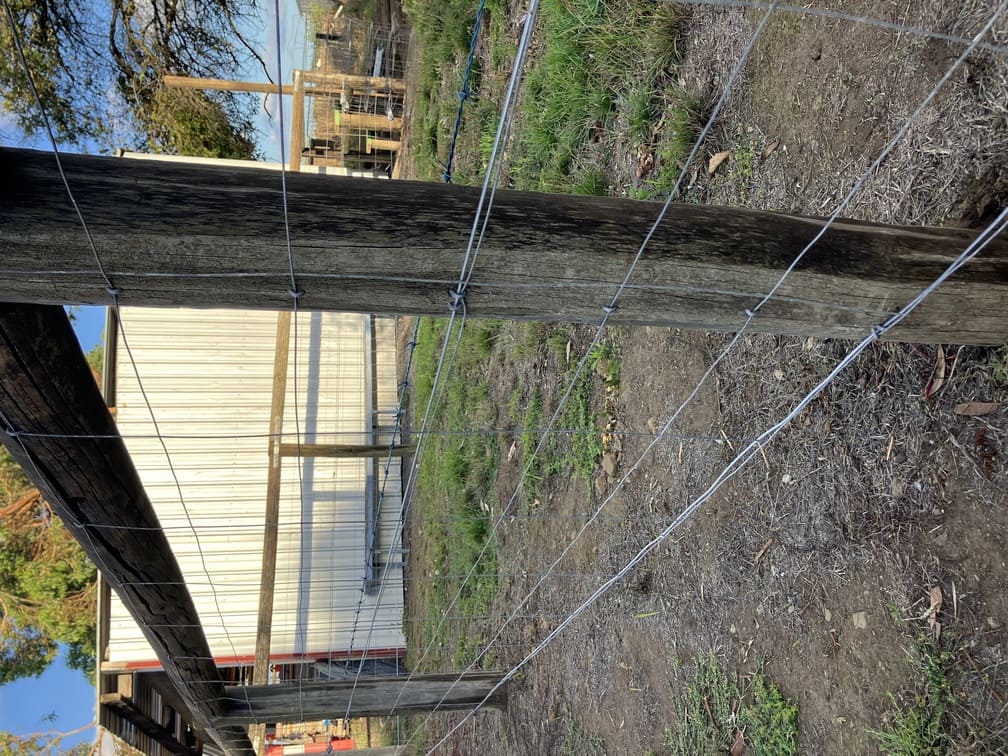
Fence run layout
Height matters because it changes the quantity of boards, wire, rails, mesh, or paneling needed. Post requirements can change too, especially where wind exposure, terrain, or fence type increase the load on the structure.
| Component | What You Estimate |
|---|---|
| Posts | Count based on spacing and layout |
| Rails or wire runs | Based on length and fence style |
| Panels or pickets | Based on fence height and design |
| Gates | Separate count and dimensions |
| Post holes / footing depth | Depends on post size, fence height, and conditions |
How post spacing changes the number of fence posts
Closer spacing usually means more posts and a higher material count, even when the total fence run stays the same.
If the fence includes corners, gates, or long runs over uneven ground, do not treat every section as identical. Break the job into segments and estimate them in a way that reflects the actual layout.
Why estimates change in real life
Planning tools work best when they are honest about uncertainty. Real sites are rarely perfectly flat, perfectly square, or perfectly consistent. Ground conditions shift. Material lengths create cut waste. Supplier stock varies. Projects that look simple in a photo often contain small complications that change the total.
That is why the best estimate is usually a careful measurement plus a realistic allowance, not a single exact number treated as final. The goal is to plan well enough to avoid large errors, not to pretend the site has no variation.
| Real-World Condition | What It Changes |
|---|---|
| Uneven ground | Volume, leveling, and waste |
| Irregular shapes | Total area and cutting needs |
| Product packaging | Purchase quantity |
| Material defects or cut waste | Final count |
| Compaction or settling | Base-layer quantity |
| Site access | Practical handling and allowance |
If you want to see how waste, compaction, density, thickness presets, and purchase rounding are handled across the site, review Calculation Assumptions and Data Sources.
How to use calculators properly
Calculators are strongest when the inputs reflect the job in front of you. Measure first, simplify shapes where needed, and enter dimensions that match the actual site rather than the ideal version of it.
| Output Type | What It Means | Example Projects |
|---|---|---|
| Volume | Space material fills | Concrete, gravel, topsoil |
| Count | Number of pieces or units | Posts, studs, pavers |
| Coverage | Area a product can cover | Paint, epoxy, wallpaper |
| Weight | Amount ordered by mass | Asphalt, aggregate |
| Cost | Planning budget estimate | Driveway, fencing, painting |
It also helps to understand what each tool is returning. Some calculators estimate volume. Others estimate weight, count, coverage, or cost. The output is not wrong if it does not look like a store order yet. It may simply need one more step, such as converting volume into bags, boards, bundles, or supplier increments.
Once you have the measurement, use the tool that fits the project: Asphalt Calculator, Gravel Calculator, Driveway Cost Estimator, Paint Calculator, Roof Square Footage Calculator, and Tile Calculator.
Before you buy materials
Calculator outputs are a planning step, not a purchase order. Before ordering, check the pack sizes or delivery increments your supplier actually offers. Confirm whether the material is sold by weight, by volume, by bundle, or by unit count. For some jobs, the difference between a neat estimate and a practical order comes down to how the supplier packages the product.
This is also the point where local conditions should shape the final decision. Access issues, terrain, compaction, product coverage, and code requirements may justify adjusting the estimate before you commit money to the purchase.
| Check | Why It Matters |
|---|---|
| Supplier unit of sale | Changes the final order quantity |
| Product coverage or density | Can differ by manufacturer |
| Waste allowance | Helps prevent under-ordering |
| Site conditions | May require more material than the ideal layout suggests |
| Delivery minimums | May affect cost or quantity choices |
For execution planning, use Project Planning Checklists. For formulas and change policy, review Methodology.